

Propagating a monstera is rewarding. This allows you to easily expand your plant collection and share your love of this beautiful species. But before you grab your shears, there’s a crucial step: understanding where to cut monstera for propagation. This is the foundation for successful rooting and the birth of your new plant.
In this article we will cover the ins and outs of where to cut monstera for propagation, covering everything from identifying the best spots on your plant to techniques for encouraging healthy root development. Whether you’re new to propagation or have some experience under your belt, you’ll find helpful advice in this guide to growing healthy, thriving monstera plants.
Table of Contents:
- Why Knowing Where to Cut Monstera For Propagation is Essential
- Choosing the Right Cuttings
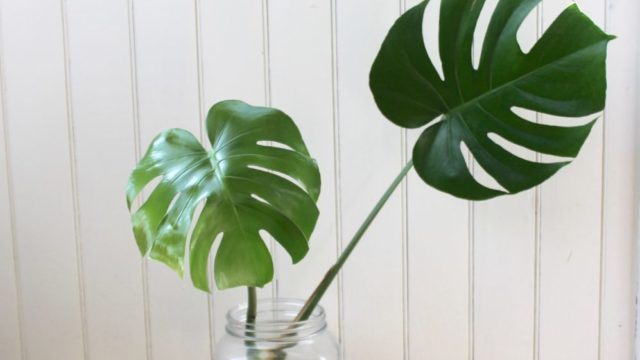
- Step-by-Step: Where to Cut Monstera for Propagation
- Choosing your Propagation Method
- Patience: The Key Ingredient
- FAQs about where to cut monstera for propagation
- Conclusion
Why Knowing Where to Cut Monstera For Propagation is Essential
A cutting without the right ingredients won’t grow into a new plant. That’s why understanding the anatomy of a monstera cutting is important. Each part plays a vital role:
Nodes: The Heart of Monstera Propagation
Nodes are small, nub-like protrusions found on the stem of the monstera plant. You’ll often find them at the junction where a leaf attaches to the stem. Nodes hold the key – meristematic cells, which have the amazing ability to develop into different plant parts, such as roots.
These cells are the building blocks for new growth, which is why you’ll never have success propagating monstera with just a leaf. Monstera propagation is successful if your cutting includes at least one node. Without it, there’s no source of these magical cells, and the cutting won’t be able to sprout roots or leaves, ultimately leading to its demise.
Aerial Roots: A Helping Hand in Propagation
Monstera are known for their iconic aerial roots. These brown, often thick roots that emerge from the stem are the plant’s way of climbing and attaching itself to surfaces in its natural environment.
These roots help gather moisture and nutrients from the air. In propagation, aerial roots provide a significant advantage, acting as pre-existing rooting systems. Even a small aerial root on a cutting can develop into a network of fine roots.
Choosing the Right Cuttings
Selecting the right cuttings greatly influences the success rate of your propagation. You want to look for healthy and vigorous parts of your monstera to give your new plants the best start possible. Here are some signs you should be looking for:
Signs of Healthy Cuttings:
- Healthy Color: Vibrant, green leaves signify a thriving mother plant and cutting. Avoid cuttings with yellowing, wilting, or browning leaves, as these might indicate stress or underlying health problems.
- No Signs of Disease or Pests: Inspect your chosen section carefully for any signs of pests, disease, or damage, such as discoloration, webbing, or unusual spots. These could spread to your new plants, so choose clean cuttings from healthy plants.
- Firm and Plump Stem: A firm stem signifies a well-hydrated plant, suggesting the cutting is healthy and likely to root successfully. Avoid any cuttings with soft or mushy stems.
Step-by-Step: Where to Cut Monstera for Propagation
Let’s get to the heart of this guide and see how to make the right cuts.
Step 1: Gather your Tools and Materials
To ensure you make clean, precise cuts, you will need a few essential tools:
- Sharp, clean pruning shears or a sharp knife.
- Clean glass jar or vase for water propagation (if using this method).
- Clean containers for soil propagation.
- Sphagnum moss (for air layering).
- Rubbing Alcohol (for sterilizing tools).
Step 2: Make the Cut
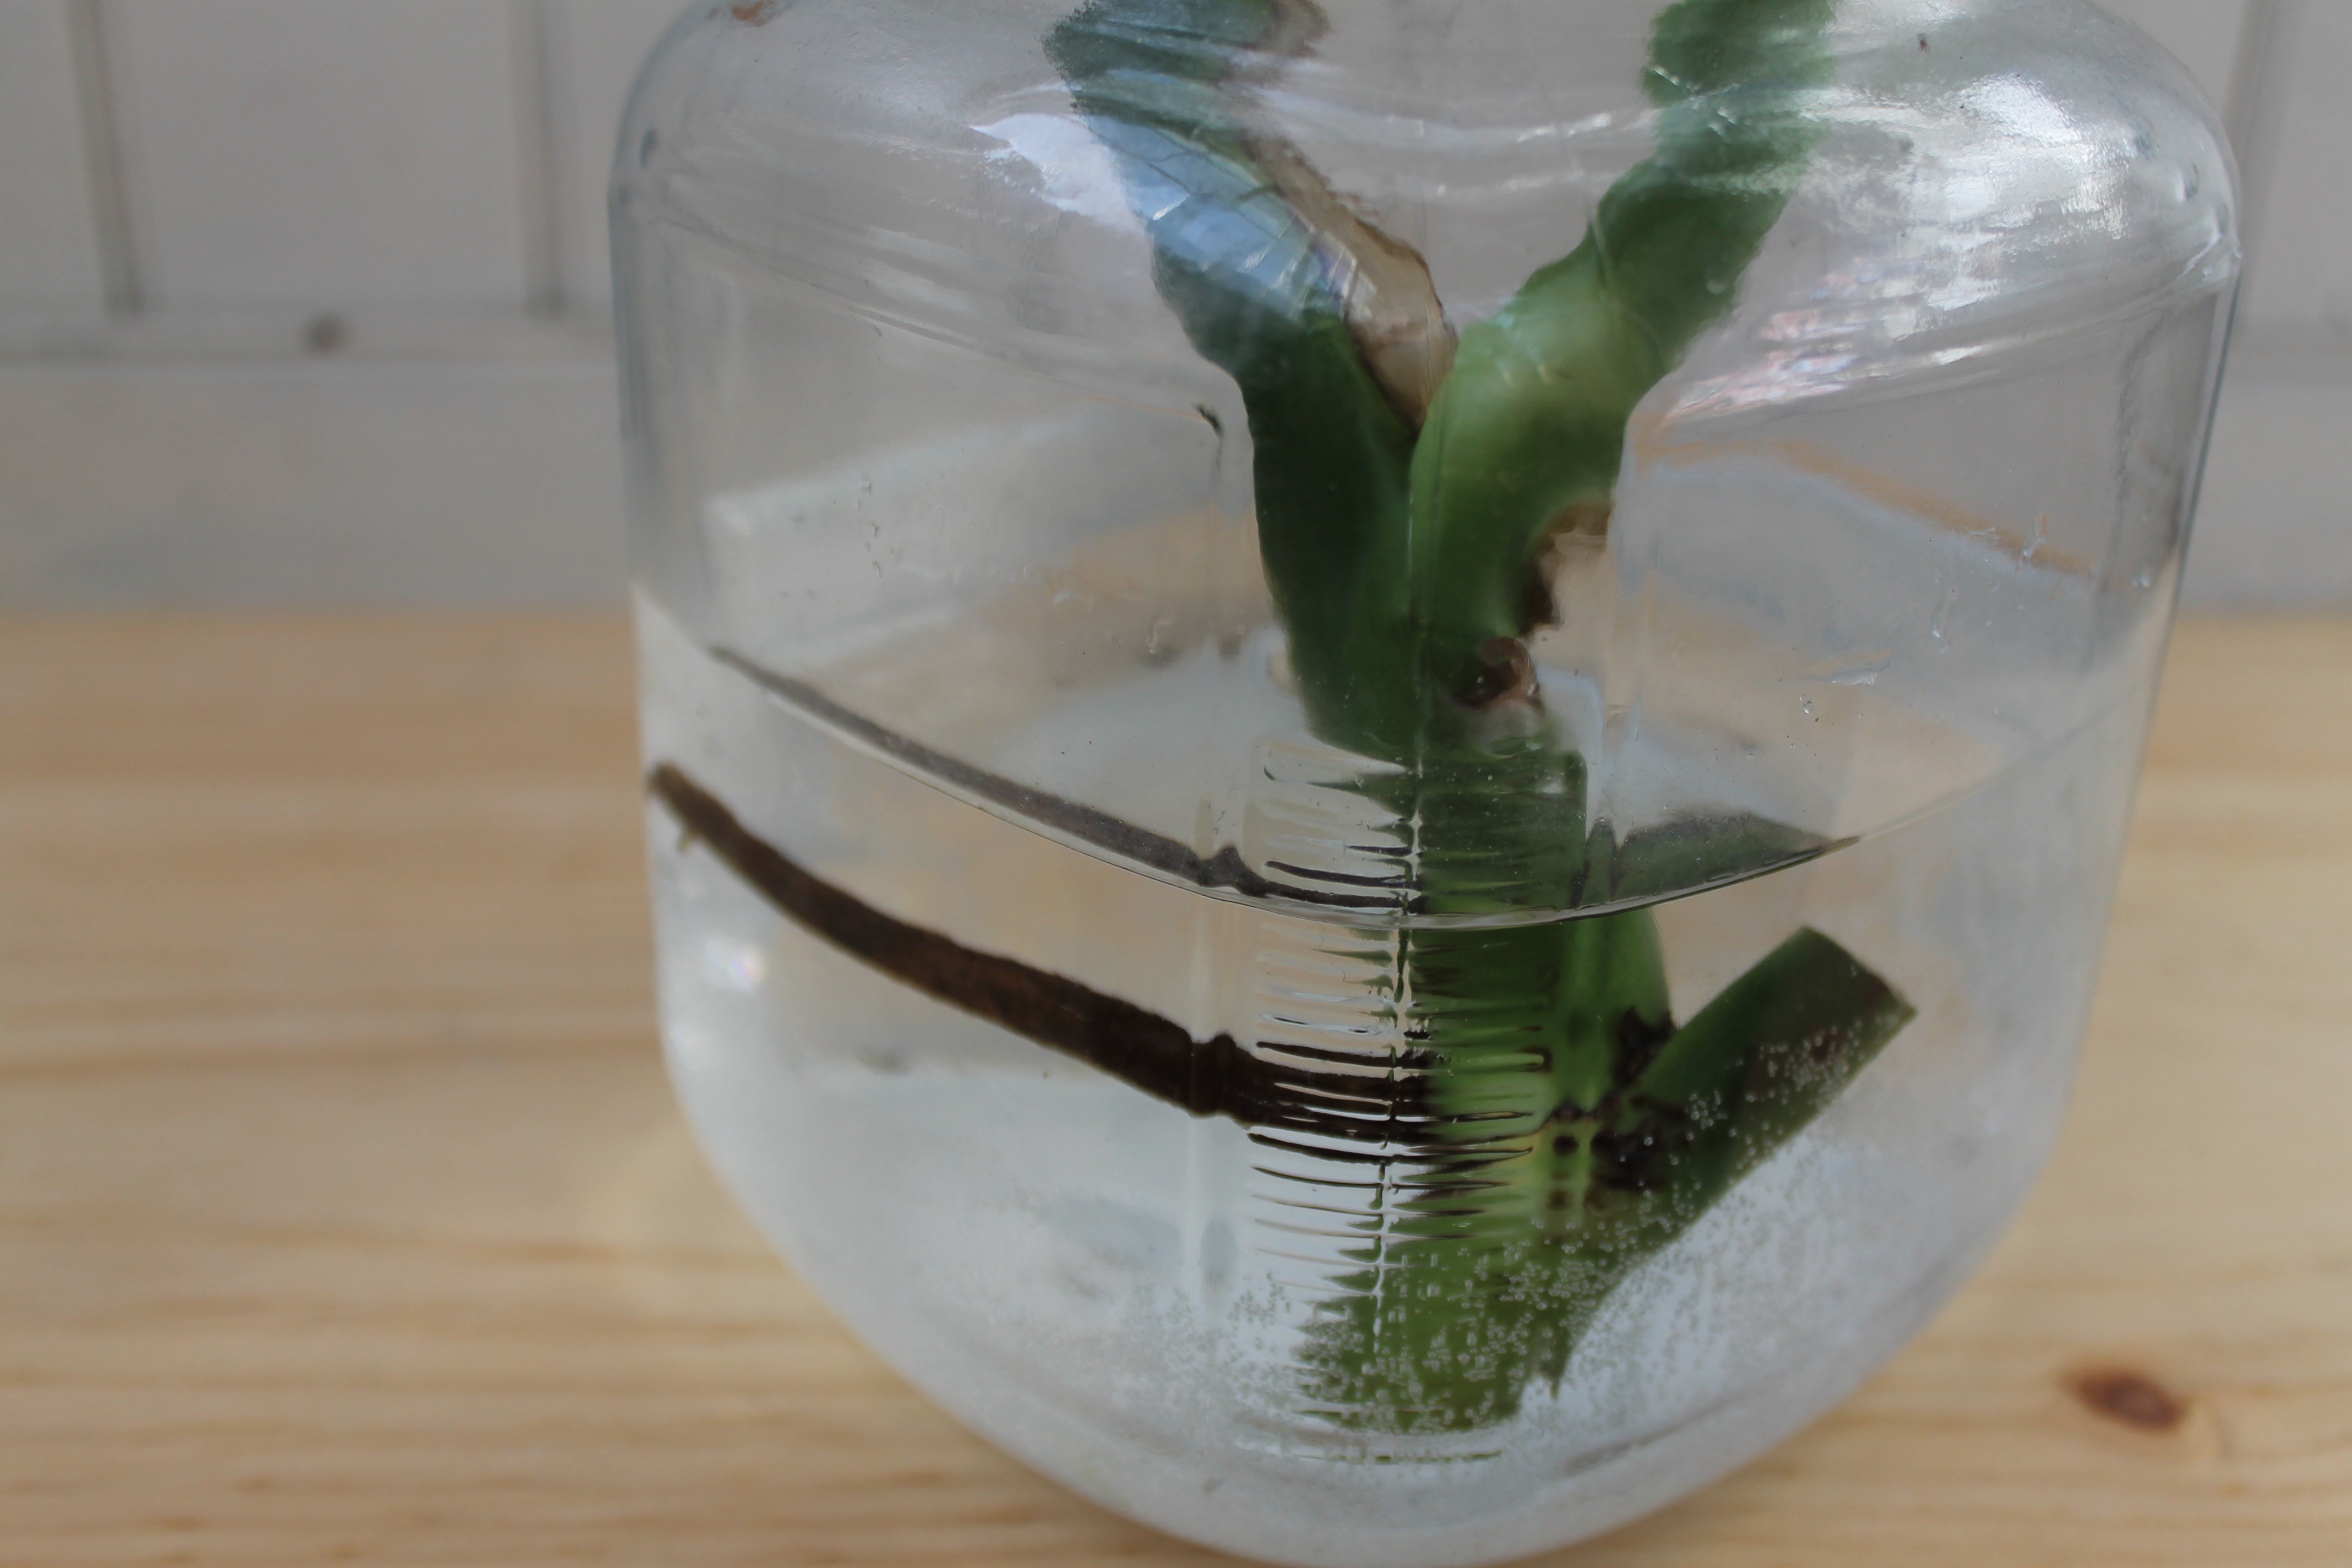
Select a stem that is healthy and vigorous. Locate a node. Remember, the node is usually about half an inch below where a leaf or aerial root emerges.
Make your cut about an inch below the chosen node, using sharp, sterilized pruning shears or a knife. This extra space below the node allows for the development of a healthy root system.
Step 3: Let the Cuttings Callus Over
After making the cuts, allow the cut end of the stem to callus over by letting them sit for an hour or two before placing them in water or a growing medium. This helps prevent rotting and promotes healthy root growth.
Choosing your Propagation Method
Now that you’ve prepared your monstera cuttings, it’s time to explore the common methods to encourage them to develop roots:
1. Water Propagation: A Visual Feast of Root Growth
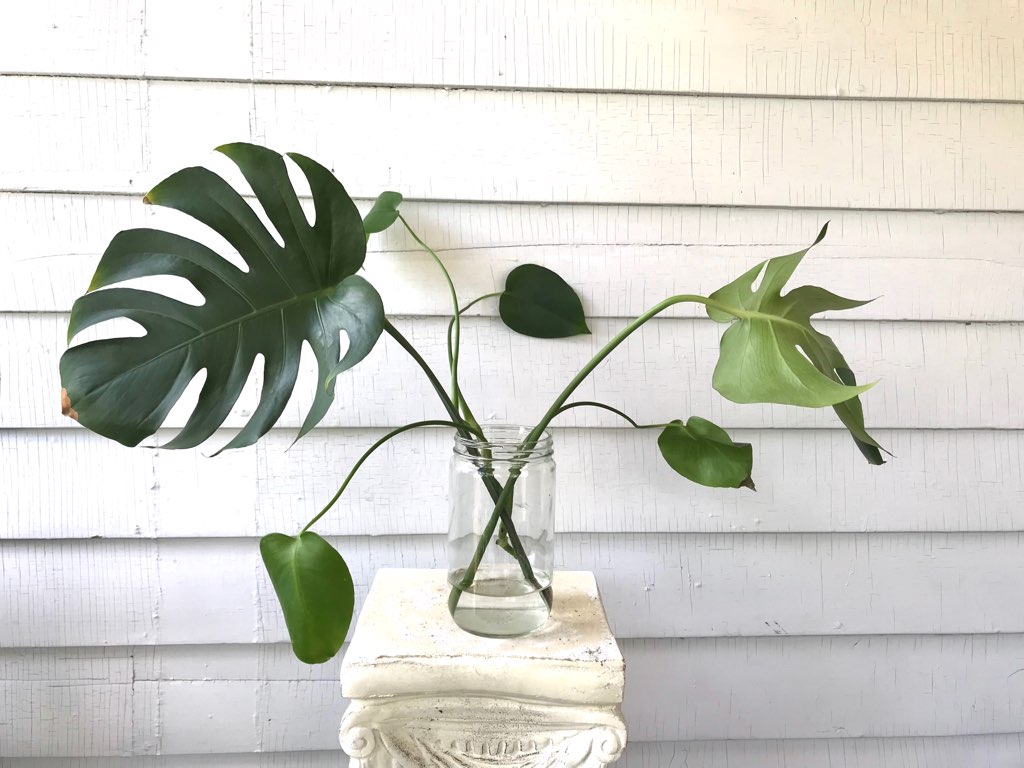
Many plant enthusiasts prefer water propagation due to its simplicity and visual appeal. You get to witness the magic of root development firsthand. Here’s how to go about it:
- Submerge the cuttings: Place your cuttings with the nodes and aerial roots (if any) fully submerged in a clear jar or vase filled with water. Avoid using water treated with chlorine, as it can harm your plant. I personally prefer to use filtered water for optimal results.
- Offer Support for Upright Growth: Monstera cuttings can be top-heavy, especially those with multiple leaves. Use twist ties, bamboo skewers, or simply lean your cutting against the jar’s rim to keep it upright.
- Change Water Regularly: Change out the water every few days. This prevents stagnant water, keeps it oxygenated, and reduces the chances of rot.
- Transition to Soil: Once the roots are an inch long or longer (this usually takes about 4 weeks), you can transition your water-propagated monstera cuttings into pots filled with a well-draining soil mix.

2. Soil Propagation: Providing a Head Start
Soil propagation eliminates the step of transitioning from water to soil, which some find helpful in avoiding transplant shock. It’s best to plant your monstera cuttings in a well-draining, chunky soil mix to provide ample aeration and prevent overwatering issues.
3. Air Layering: A More Advanced Technique
This technique is slightly advanced, but incredibly effective. Here are the steps:
- Locate the Node: Choose a stem on the mother plant you want to propagate from and locate a node.
- Make a Cut: Instead of severing the stem, carefully cut a one-inch incision upwards, about halfway into the stem, just below the node. The goal is to partially wound the stem, stimulating root growth from that point.
- Apply Rooting Hormone: Applying a rooting hormone is generally optional with Monstera. However, if you want to give your cuttings an added boost (and you plan on air-layering several at a time) dipping them into rooting hormone powder can promote faster and potentially stronger root growth.
- Wrap with Moss: Wrap the cut section generously with damp (but not soaking) sphagnum moss, covering the node completely. This moss acts as your rooting medium.
- Secure the Moss: Use plastic wrap or a clear plastic bag to enclose the moss, securing it with ties on both ends. This keeps the humidity high, promoting a favorable environment for root development.
Step 4: Nurturing Your Propagated Monstera Cuttings
Regardless of which propagation method you choose, here’s how to help them thrive:
- Bright, Indirect Light: These plants love bright, indirect light, both for regular growth and while propagating. A spot near a north or east-facing window is usually ideal. I have found that keeping mine near my east-facing patio doors works best in my home. Direct sunlight can be too harsh and can scorch the leaves.
- Warmth and Humidity: Most indoor environments will have ideal temperatures. Remember that 65-80 degrees Fahrenheit is ideal. If humidity levels are low in your area (especially during the dry winter months), use a humidifier or a pebble tray to boost humidity. This promotes healthy root and leaf growth and keeps your new Monstera plants happy.
- Watering: Overwatering is a death knell for any Monstera. Be sure to water if the top inch of soil feels dry or when a moisture meter reads 4. It’s also important that your pot and soil drain very well to prevent standing water and root rot.
- Feeding with Fertilizer: Use a liquid fertilizer diluted to 1/2 strength every 2-4 weeks during their growing season.
Patience: The Key Ingredient
Successfully propagating and growing your own monsteras is a rewarding endeavor that allows you to easily expand your plant collection. Just like your other plants, your newly propagated cuttings require good care and a conducive environment.
With these tips, you’ll be on your way to enjoying a lush, verdant indoor oasis filled with beautiful monsteras.
FAQs about where to cut monstera for propagation
Can I use any part of the monstera stem for propagation?
While Monstera are quite resilient and forgiving, for propagation, the most reliable method for propagation requires using a stem cutting that includes at least one node. Without a node, your cutting won’t be able to develop new roots or leaves.
How long do Monstera cuttings take to root?
Generally, it takes Monstera cuttings 2 to 4 weeks to show noticeable root development, whether propagating in water or soil. However, factors like temperature, humidity, and light play a role, and it can sometimes take longer for roots to form.
What kind of potting soil is ideal for a newly rooted cutting?
Once your monstera cuttings have developed roots that are at least an inch long or longer, they are ready for a well-draining, chunky soil mix in a pot. You’ll also want to select a pot that is large enough to accommodate the roots as they continue to grow.
Use a high-quality potting mix that’s specifically designed for indoor plants to provide essential nutrients to your developing monsteras.
Can I propagate Monstera from a leaf cutting?
Sadly, no. You can’t propagate a monstera from just a leaf cutting. A monstera leaf cutting won’t grow because it doesn’t have a node with the necessary cells for root development.
Conclusion
Mastering where to cut monstera for propagation opens a world of possibilities for houseplant parents. Not only does it allow you to create new plants from your existing ones but it can also help you to save a struggling Monstera. By taking advantage of these opportunities to multiply your cherished plants, you can create stunning displays of lush foliage and embrace a deeper connection to the natural world—all from the comfort of your own home.